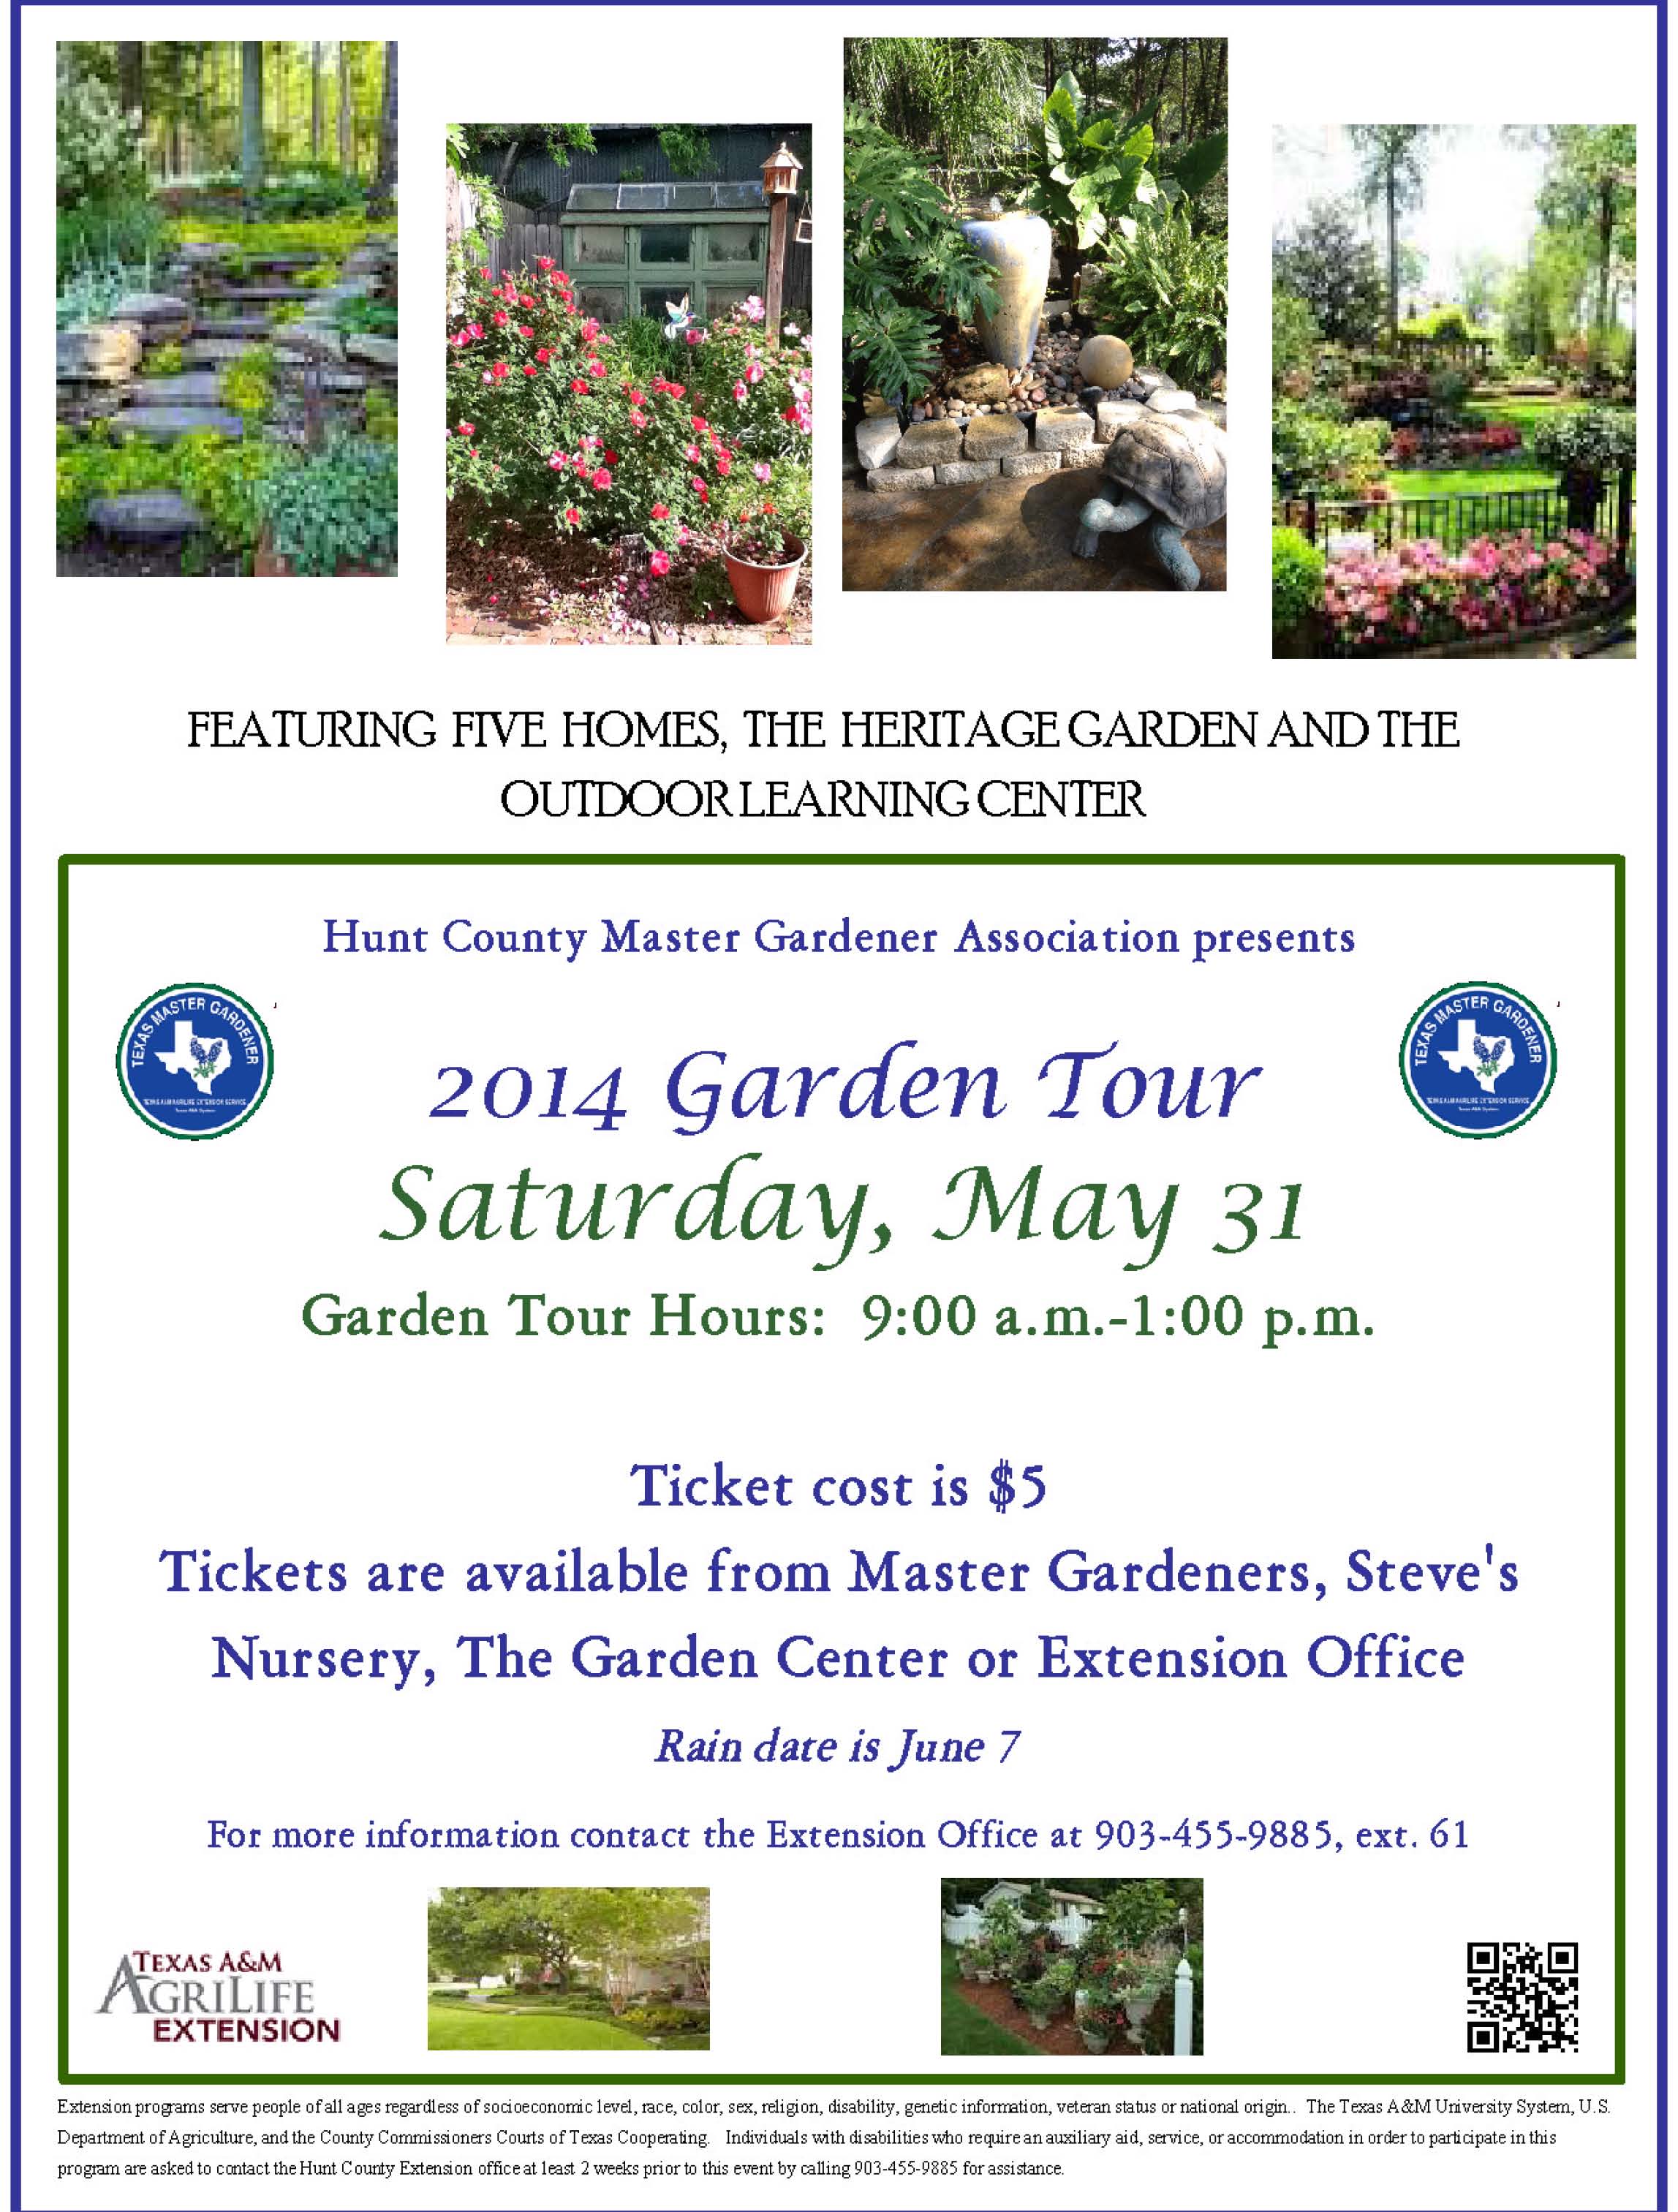
garden tour flyer 2014
Fighting Fire Ants by Stephanie Suesan Smith, Ph.D.
Fire ants have to be one of the most obnoxious insects in the United States. Almost everyone who spends any time outside in our area has been stung by them. They take over gardens, eat okra, blight lawns, and generally make a nuisance of themselves. The most asked question for Master Gardeners has to be, “How do we get rid of fire ants?” The answer is the Texas Two Step method of fire ant eradication.
The first step is to spread a bait product all over your yard. You do this with an old fashion hand cranked fertilizer spreader. Fill the hopper with bait and walk at a normal speed back and forth across your yard, cranking the spreader as you go. This will spread enough product out for the ants to find but not enough to hurt birds, pets, or children. Be sure and cover the whole yard, except for your vegetable garden. No bait products are labeled for use in a vegetable garden. The good news is that you can spread the bait around the outside edges of the garden and the ants will travel to it and get it.
Bait works because ants think it is food. They gather it and bring it back into the colony. Then they feed it to the queen. The bait sterilizes her so she can’t lay eggs anymore. The colony gradually dies as the workers die off. This takes four to six weeks for the entire colony to die.
The best time to spread the bait is in the early mornings, when it is cooler and the ants are foraging. Do not spread it during the heat of the day as the ants will not get it before it goes rancid in our heat. You can spread it in the evening when it is cooler as ants will forage again then. Make sure any product you spread is fresh or the ants will not eat it. Even ants reject the rancid fats in old bait.
What if you have a big ant bed in a high traffic area, or in a place where they are stinging kids or pets? Then you use the second step of the Texas Two Step. You buy a drench or powder designed to be spread right on the offending bed and use it to kill the most problematic ants quickly. Most people cannot find all the fire ant beds in their yard so just using drenches or powders to kill fire ants is impractical. In addition, you cannot use them inside a vegetable garden, so if you have a bed in your vegetable garden you will have to spread bait around the perimeter of your garden for the ants to find. However, drenches and powders do a good job of killing ant beds that are actively threatening the health and welfare of people or pets by killing the bed quickly and with finality. Be sure and follow the label directions on all products you use.
Container Gardening by Cynthia Beacom and Becky Wivang
Does it involve a thriller, a filler and a spiller? No, it’s not C.S.I. It’s a Container Garden! Hunt County Master Gardeners want to feature your original container garden at a contest in the Heritage Garden on the 2014 Garden Tour, May 31, 9:00 am to 1:00 pm. The garden tour patrons will vote for first and second place overall favorites of the container gardens on display. Cash prizes will be awarded to the top two favorites. Tickets for the tour are on sale at Steve’s Nursery, The Garden Center, Hunt County Extension Office or from Hunt County Master Gardeners.
Please bring your container garden to the Outdoor Learning Center at Heritage Garden (2311 Washington St., Greenville, Texas 75401) between 8:00 -8:45 am May 31, 2014. Contestants will register their containers which will be assigned a number (no names on containers please). You may enter several different container gardens. Garden Tour patrons will vote for their favorites. Contestants will return and pick up their containers at 1:15 pm after the tour. The Outdoor Learning Center will be unattended after 1:15 pm. Winners will be notified the evening of the tour, and prizes collected at the Texas A&M AgriLife Extension Service office on June 2.
Do you want to make a container garden and don’t know where to begin? The Master Gardeners have planned a Container Garden Workshop to be held May 10 from 10 am to 12 noon at the Outdoor Learning Center at 2311 Washington Street. The cost is $15, limited to 15 people, and registration must be made and paid by May 1. For registration go to the Texas A&M AgriLife Extension Office at 2217 Washington Street. Potting soil, pot, and plants will be provided.
Growing plants in containers makes gardening accessible to almost everyone. A container garden is a creative outlet limited only to your imagination. No heavy garden tools are required, and pots can be put on wheeled stands and moved around. Mix it up because you can create anything you want. Group plants requiring the same watering amounts, and leave an inch space from the top of the mulch layer to conserve water.
Looking for more ideas for your container garden? Visit area nurseries, Arboretums, or outdoor living centers to see plants and containers, or enroll in a container gardening class. Magazines and websites are brimming with colorful ideas. Type in “container gardening” on Google or Pinterest.com and a wealth of photos, how-tos, and examples will inspire you. Take a field trip through your own home and garden. You might find that rusty old tackle box would make an interesting container garden with a “gone fishing” theme. Maybe the kids’ toy box has old dollhouse furniture for a fairy garden, or little Lincoln logs, corals, and horses for a cowboy theme, and rockets and stars for a space mission.
You may choose the thriller, filler, and spiller technique. Plant a thriller (tall vertical plant in the center or back of the container, then a filler (bunchy, moundy, shorter plants around the tall one), and spillers (trailing plants that spill down the sides). It’s fun to hunt for a container, pull together features for your theme, shop local for plants and structures, build it yourself, and put together your plan.
Vegetable Gardening in Texas by Dave White
This winter was a very long and cold one, especially for Texas. We are all looking for a warm-up in the weather and to planting our spring vegetable garden. Most of us have a limited amount of space suited for a vegetable garden and a limit of time and effort that we want to devote to planting and maintaining a garden.
A vegetable garden takes some advanced planning and preparation to have long term success. Site selection is of primary importance. Sun conditions, levelness, drainage, closeness to buildings, trees, an accessible water supply are all considerations.
Once the location is selected, soil preparation is needed. The ideal soil for a vegetable garden is deep, well drained, friable (easily crumbled), and rich in organic matter. A soil test is needed to determine the nutrient levels of the soil. Soil sample kits are available from your local Texas A&M AgriLife Extension office in Greenville.
Soil preparation is a long term process which should be started well in advance of the spring planting time frame. Tilling the soil 8 to 10 inches deep in the fall and mixing in the fallen leaves from your yard or neighborhood will increase the organic matter in the soil as they decompose. Organic matter loosens the soil, helps to retain moisture, adds nutrients, and enables the vegetable roots to grow deep into the ground enabling the plants to flourish. Add organic matter or compost to your garden yearly to improve the growing conditions.
Assume your garden is ready to begin planting. The next thing you need to do is decide what you are going to plant. Again, some thought and preplanning is essential. Select the vegetables your family enjoys the most and the variety recommended for this area and for your size of garden. Follow the recommended planting dates and maturity dates for the specific vegetable.
It is recommended to use transplants for certain vegetables such as tomatoes, peppers, onions, cabbage, broccoli, cauliflower, and eggplant to get the most success. Transplants will give long-season plants a chance to grow to maturity under preferred weather conditions. Corn, squash, beans, peas, okra, pumpkins, beets, cucumber, radish, and lettuce are a few of the vegetables that grow well from seed planted directly into the garden at their recommended planting dates.
Here in Texas, you will have to water your garden if you expect to get much to harvest. Rain is not usually enough for the plants to thrive. You may consider a soaker hose or drip irrigation to provide the supplemental water. An organic mulch will also help to conserve moisture, control weeds and reduce soil temperatures.
The Aggie Horticulture internet website located at http://aggie-horticulture.
The Bane of Bag Worms by Pat Newell
Although bag worms are not abundant every year, once a plant is infested it can become a persistent problem. If an infestation is left unchecked they can defoliate and kill trees and shrubs. I learned an important lesson while researching this information. As an example of using individual’s sites for research, my initial search said that bagworms turn into web worms. When I went to several University Extension sites that turned out not to be true. Bagworms and webworms are two entirely different insects. Bagworms look like small shaggy Christmas ornaments, or tiny pinecones, about 2 inches long. Once you know what to look for they are easily visable in winter. Normally they are in Evergreens, and Sweet Gum trees, but any plant may be susceptible, such as Oaks, Pecans, and fruit trees.
Eggs hatch in the bags in spring, the larvae, or caterpillars, then emerge, and fall to the ground. They then go back up into the plant where they eat leaves and make new bags, or enlarge the existing bags, as they grow. In September the caterpillar pupates, or turns in the moth. The winged males mate with the females, who then lay the eggs in the bag, dies, and the eggs over winter in the bags. If this cycle can be interrupted at any stage the problem disappears.
Interrupting the cycle, however, may be easier said than done. If the bags are in small, or short, plants, hand picking the bags is the most reliable treatment. You will notice as silken thread that holds the bag to the tree. If possible remove the thread as well, since it can choke the twig it is on. It is important not to throw the bags on the ground, since this does not interrupt the cycle. The larvae can hatch on the ground as easily as on the tree. Placing them into a ziplock bag, sealing it and putting it in the trash is the best method of disposal. Unfortunately many of the trees have bags that are too high to reach, even with a rake to pull down the branch. If the tree is badly infested, and is worth the cost, professionals can be brought in the handle the problem.
Since a professional spraying into a 40 foot tree is beyond the means of many of us, several other methods have been suggested in various University Extension sites. The most important thing about treatment, even before knowing what to do, is timing it to be most effective. If you are able to reach any of the bags, put them in a dark place. I use a can with a good lid. In spring open the can frequently so that the larvae can be seen as they hatch. This is the best time to treat the caterpillar problem, while the larvae are small and feeding. Various insecticides are recommended at this stage, the easiest being a soil application of Dinote Furan, or even the reliable Seven dust around the base of the tree. Since the caterpillar has to climb back up the tree to feed, one very respected Extension site even recommended a bird feeder near the base of the tree, or spreading seed around the base of the tree for ground feeding birds.
The Fall, while the bags are still small, is the best time to use the various sprays that can penetrate the still thin walled bag. BTK, Malathion, Neem oil, Spectracide Bug Stop have been proven to do the job.
Seeing all those bags hanging can look like a problem that can’t be controlled, but timing, insecticides, and even some old time basics can get rid of the shaggy, deadly, Christmas ornament looking bags that can destroy our trees.
Blackberries, a Thorny Delight by Diana Sidebottom.
Ouch, Ouch, Ouch!! If you are a gardener, you know that can mean only one thing; it’s time to prune the Blackberry vines! Well, it may actually mean several things…. like you have been sitting on the couch all winter and after a few days of working in the garden, every muscle in your body is screaming, ‘Are you crazy?’ Yes, as most gardeners know, you have to be a little crazy to do this. After all, you can purchase most of these fruits and vegetables at the grocery store or farmers markets. But, it is so satisfying to know that you battled Mother Nature and her crazy weather and you beat the odds. You were triumphant against all of those insects, and diseases. You are now actually able to reap the rewards of your labor by eating something you grew! Victory is sweet and so are those blackberries. But first, you have to know how to prune and care for them, in order to have a bountiful harvest. So, put on your protective gear: wear the thickest gloves you can find (preferable leather), don those jeans, a long sleeve shirt, a coat, (a suit of armor would be nice), grab your pruners, and let’s get started.
Blackberries are hybrid of the dewberry. Dewberries are able to tolerate our high summer temperatures, and are seen growing wild in Texas along fence rows and in pastures. Hybrid varieties are available today which bear large-sized fruit, have an extended period of harvest, and can be thorny or thornless.
Blackberries are biennial plants. You need to know this to determine which canes to prune. Current season canes (new growth) are called “primocanes.” Fruit is set on one year old canes (last year’s growth) and are called “floricanes”. Floricanes die after fruiting and those are the canes that should be pruned out and removed each year.
Trellising or supports are helpful in harvesting and weed control: but should be very simple in nature so they do not interfere with floricanes removal.
Blackberries may produce for 15 years, but the optimal production is usually during years 3 through 8. They grow best in sandy soil, and prefer a pH of 4.5 to 7.5. As always, test your soil, or have it analyzed for pH, nutrient deficiencies and percolation, then build and amend your beds accordingly.
Remember, fruit production is directly related to primocane growth and vigor. By keeping your plants their healthiest, they will reward you with plenty of Blackberries for years. Nitrogen is the most important nutrient and is best applied in split applications, one in spring as buds begin to swell , and then in summer after the harvest. Keep your plants watered, preferably with a drip irrigation system to help prevent fungal diseases. Also, apply a thick layer of mulch.
If you only remember one point from reading this article, remember this: applying a thick layer of mulch is probably the most beneficial thing you can do. Mulch reduces evaporation thereby decreasing the necessity for frequent watering, and with our current drought, that is a real benefit. It helps prevent fungal diseases by protecting the plants from soil borne organisms. It reduces heat stress during the peak of summer. It minimizes and almost eliminates problem weeds. As it decomposes, the mulch fertilizes and amends the structure of the soil. Mulch can be made from anything: leaves, grass clippings, hay, shredded bark, any plant based materials.
If you haven’t decided which varieties you are interested in planting, go to the Texas A&M website where you will find numerous varieties and details of the characteristic of each. If you are just starting to garden, Blackberries are probably a good place to begin. They are relatively easy, and let’s face it, the original varieties still grow wild. You can’t say that about too many other fruit. So as always….. happy harvesting.
Growing Tomatoes by Byron Chitwood.
When planning a garden, one of the first vegetables that come to mind is tomatoes. It’s no wonder, they are fairly easy to grow and nothing tastes quite like a home grown tomato. Most store bought tomatoes are selections that are prolific producers and have a good shelf life. Flavor is secondary.
Tomatoes have been around as long as the human race has been in the Americas, particularly South America where they apparently grew wild and were harvested and eaten by the hunter-gathers that were there about thirteen thousand years ago. Since that time, they have been hybridized and selectively bred to produce what we now grow or purchase at the supermarket.
This is mid March and it is too late to plant tomatoes from seeds. However, your favorite nursery, hardware store or other outlet for plants will have an abundance of plants in many different varieties. They will range anywhere from dwarf to determinate to indeterminate varieties. If your garden plot consists of a few large pots or half barrels, plants designated dwarf, patio or determinate are probably the ones most suited to this type gardening. Unless you have one favorite variety, plant as many different varieties as you can. Container gardening will require more diligence in watering since our Texas sun will dry out the soil much quicker than in a traditional garden. Lightly fertilize every two or three weeks with a well balanced fertilizer.
For the traditional gardener with plenty of space, plant several different varieties in and area where the plants can get plenty of sun and the soil is well drained. The plant outlet sells plants in single pots and containers made up of 4, 6 and 9 containers. Before transplanting the newly purchased tomato plants, have the soil well tilled to a depth of about six inches and amended with peat moss or well composted organic material. Fertilizer can be added to the soil either before or after tilling. Be careful and not use “weed and feed” fertilizer. Just before planting, soak the containers containing the tomato plants in a solution of water and water soluble fertilizer. This will make the plants easier to remove from the containers. Plant the individual tomato plants in holes about an inch deeper than the soil level in the container while being careful to not damage the stems or leaves. Space the plants approximately three feet apart. Hopefully, the last freezing frost was just a few days before planting. However, nature doesn’t always accommodate us gardeners so if frost is forecast, take precautions to prevent freezing of the plant by covering with buckets or some other frost prevention cover.
Cage or stake the tomato plants before they get too large. The Master Gardeners ran a test several years ago and found that the caged ones kept the tomato from contacting the ground and being more subject to soil borne diseases and insects.
The best time to pick tomatoes is just before the birds decide to sample them. Harvest the fruits when they have barely started to turn red or yellow. Place them on a window sill or on the cabinet in the kitchen and they will ripen within a day or so.
When home canning, add some freshly picked basil to each jar along with a teaspoon of vinegar and a half teaspoon of salt per pint. I’ll give you an Oklahoma guarantee that you will never can then any other way.
Spring Gardening by Wanda Loras
Gardening is good for the soul. My rewards are plentiful and varied. They come after many hours of planning, frustration, labor, sweat and forced patience. In the beginning the rewards from all the work is only the picture I imagine of what will be someday.
For new beds, my first step is to select the site for my bed and draw a diagram of what I want to plant. Next I send for a soil sample. While I am waiting for the soil sample results, I spray unwanted vegetation with roundup. I wait for a minimum of ten days before cultivation. The soil sample results include the ph of my soil along with what amendments if any are required. I then add these amendments along with three inches of compost and cultivate to a depth of six to eight inches. After I plant my flowers, bulbs, and shrubs I then add three inches of mulch to keep out the weeds, preserve moisture, and keep the roots at a more constant temperature. My active role in gardening is landscaping, but the bed I prepared is good for vegetables, herbs, shrubs, bulbs, perennials and annual flowers.
When the bulbs bloom they bring a whisper of spring in the cold of winter. I look out my window on a dreary cloudy winter day and see sunshine in the daffodils peeking out to say hello. The purple hyacinths stand bold against the cold north wind. The sight gives me a boost of energy and cheers me on for the rest of the day because now I know spring is not far away.
In winter, I especially enjoy watching the robins when they come to feast on the berries in the Yaupons and Hollies. They bring a little nostalgia to me because their skip walk reminds me of playing hop scotch when I was an adolescent
After hours of blood, sweat, and tears early on, spring arrives and my garden transforms into my own personal arboretum. The buds burst open into flowers and there is such an array of colors, shapes, and aromas that it takes my breath away. It just makes me feel good all over. It is rewarding to know I had a very small hand in this miracle from nature.
Now the garden gets really busy. The bees are pollinating the flowers. The birds are building nests among the inviting shrubs, vines and trees. The butterflies make their entrance. The humming birds start squabbling over the nectar from the flowers and blooming shrubs. There is truth to the saying, “Build it and they will come.”
Of course, you do not have to be a gardener to enjoy the rewards of gardening. Your neighbor may bring you some vine ripened tomatoes or as you drive down the road and see flowers cheerfully swaying in the breeze maybe just for that moment you identify with the wonders of nature and get the feeling that everything is going to be all right. These are the rewards I get from gardening.
Rose Rosette Disease by PJ LaRue Smith
Rose rosette disease (rose witches broom) has been getting more press the last several years in the Dallas/Ft. Worth area due to the increased infection rate noted at several homes and public gardens. This disease is particularly devastating in that (a) there is no cure, (b) infected bushes must be removed/destroyed, and (c) all roots of infected plants must be dug up before replanting roses in the same location.
Symptoms of rose rosette disease include witches broom formation of new growth, twisted flowers and leaves, excessive leaf growth, excessive thorniness, red and/or mottled discoloration, lateral shoot elongation, flattened stems, and enlarged stems. Not all symptoms may be noted on affected plants, and can differ amongst rose types.
What causes the disease? In 2011, a research group from the University of Arkansas reported the detection of a virus, specifically an Emaravirus, in symptomatic roses. They were able to detect this virus in 84 out of 84 symptomatic plants that were tested (Laney et al, 2011). This study also resulted in a genetic (PCR) test to detect the virus. However, the procedure can be tedious and is currently undergoing further modifications to simplify for ease of use.
How does the disease get into, or transfer from, plant to plant? Evidence from mite transmission studies suggest that the eriophyid mite (Phyllocoptes fructiphilus) carry/transmit some disease causing agent from the diseased plant to healthy ones. (There has not been any published study that clearly demonstrates that the eriophyid mite actually carries the rose rosette virus itself, however.)
How do you know that a rose has this virus? Symptomology as described above, once other factors such as herbicide damage (especially products containing 2,4D), abiotic environmental conditions (i.e. sunlight, temperature, wind patterns, precipitation) and damage by other insects have been ruled out. Presence of the eriophyid mite along with the symptoms listed above further substantiate the conclusion of rose rosette disease. Electron microscopy and other molecular tests can detect the virus, but are typically not done in the average home garden.
Can the rose rosette affected plant be left in the garden? Most of the time, this disease will damage the rose plant to the point where it simply dies. However, the infected plant can serve as a virus reservoir for transmission by the eriophyid mites to healthy bushes. So removing/destroying the plant is the best option for further spread of the disease.
What is the best management practice when this disease is discovered in a garden? According to Texas A&M AgriLife Extension Service publication E-PLP-010 (August 15, 2013):
1. Removal of confirmed and/or symptomatic plants early after observation.
2. Treatment of adjacent plants with miticide to reduce probability of transmission by eriophyid mites. (Please note: this will not stop the virus, if it is already in the plant.)
3. Constant monitoring (weekly) for symptoms and rapid action when and if symptoms are observed.
4. If desiring to replant with roses, it is advisable to remove all diseased plant roots from the soil before replanting in same area. (This is a prudent precaution even though it is unlikely that the virus would spread this way.)
Hopefully, this disease will never visit your garden. If you suspect that your roses may have this disease, please contact the Extension Office at 903-455-9885 for further information.
Camellias by June Morgan
On a visit to the Arboretum in Atlanta, Georgia, I stumbled upon an annual judged show of camellias from all over the surrounding deep south area. I was mesmerized by their many varieties, showing quiet charm to flashy allure. I was almost ready to pack up and move out of north Texas. But undaunted, I researched the possibility of meeting the challenge at home.
Camellia sinensis is the teaplant originated in China. After many tries in several places it finally became established near Charleston. It is still in commercial production but not valued for its flowers. Camellia sasanqua, of Japanese origin and Camellia japonica from Japan, China and Korea offer many varieties of flowers while differing in growth habits and blooming times. Both come in white through shades of pink and red
Sasanquas are usually considered easier to grow than japonicas and are valuable not just for flowers but as an evergreen hedge with some varieties attaining 12 or more feet high. Both leaves and flowers are smaller than japonicas and are faster growing. They are also more cold resistant to low temperatures; however, buds are likely to be damaged if frozen and thawed rapidly in morning sun. Bloom times are fall and winter, so those planted in the fall will give ample time for the roots to become established for winter blooms. Look for new varieties with fragrance and optimal cold hardiness.
Japonicas have taken a greater hold in the south with their winter and spring blooms and more spectacular flowers. The cultivation is the same for both types and is similar to that of azaleas and rhododendrons. They prefer a slightly acid soil, good drainage, and dappled sun with afternoon shade. In Texas, it would be expensive to import the right soil to a large area so a small planting or using containers might be the best choice. Containers can be moved to protected locations such as a greenhouse to accommodate the damages of a too bright sun or extreme cold.
When planting outdoors, dig a hole that is twice the depth and three times as wide as the nursery container. Replace the native soil with an organic mixture of peat moss and composted manure with a slightly acid pH. After placing the plant, backfill with soil so that the top of the root ball is slightly exposed above the soil. Place a two inch mulch over and beyond the exposed roots, then water to a depth of fifteen inches. Fertilize during the growing season after watering the day before and again afterwards. Prune only lightly after flowering and before the next buds form. Cut only dead or weak stems down to the main branches. Adequate water is a necessity, but too much can cause root rot or the loss of flower buds. Hybrid varieties will not come true from seeds so propagation is best done by cuttings. In late July or August, take cuttings about four inches long. Remove the lower leaves and dust with rooting hormone powder. Place them into pots of coarse sand and a small amount of peat.
Possible problems can include scale and spider mites and fungi of several types. Camellia flower blight can be treated mainly by rigid sanitation practices including the replacement of mulch every year and getting rid of fallen blossoms(not into the compost pile). Fall blooming sasanquas seem to be less susceptible. Dieback and canker are other serious problems and are mainly treated by fungicides. If problems occur, it is best to consult with a specialist or go to the internet for pictures of blighted plants. But do not be dissuaded from trying to grow these wonderful flowers. The gardener can be amply rewarded.
***