
Bird Feeding in Winter
Bird Feeding in Winter by Dave White.
We spend many hours watching and enjoying the numerous species of birds that visit our yard every day. They provide unlimited entertainment, color, activity and music. Some of the native birds frequenting our yard are finches, cardinals, titmice, bluebirds, chickadees, nuthatches, flycatchers, wrens, woodpeckers and crows. There are also many other species who stay for short periods when migrating through our area as they travel to and from their summer and winter destinations.
Everyone can experience the same enjoyment by doing a few simple things to attract birds. A bird friendly yard consists basically of three things; food, water and protective cover or shelter. Creating a garden environment with these items in mind creates a location for birds to feel comfortable and linger. Let’s explore these three requirements in more detail.
Food – Birds need to eat everyday all year. We choose to feed the birds year round to keep them in the vicinity. During the summer they eat more insects, seeds, buds, caterpillars and worms because of availability. They also like to supplement their dining experience on the seed provided in the feeders. Always buy quality birdseed which has a variety of seeds including black sunflower, white millet, cracked corn, peanuts, and safflower. Avoid birdseed containing fillers of milo or wheat. Store the seed in a cool dry place in a covered container to prevent spoilage. Some course sand nearby provides grit for the bird’s gizzards to grind the hard seeds.
Feeders – I like a squirrel proof tube feeder hung on an 8 foot steel shepherd’s hook with a suitable squirrel shield attached. Hanging a feeder from a tree encourages squirrels, possum and raccoons to visit. This is also why I no longer use a platform feeder.
Place the feeder near the edge of the woods, shrubs or garden border which offers partial protection and a place for the birds to roost while waiting their turn at the feeders. Do not locate feeders close to a window which is one of the leading causes of death to startled birds flying into them fleeing a predatory bird. Also avoid placing feeders in large open areas leaving birds vulnerable without protection of a nearby hiding place.
Water – Birds need water to survive. A birdbath with a 2 -3 inch depth provides a place for them to get a drink and bathe. It should be large enough and deep enough for water to last a couple days in the hot summer. Do not add chemicals to control algae or insects. Provide this water source all year. Position the bird bath to prevent water contamination from feeder seed or bird droppings. Clean and replace the water weekly so it does not promote mosquito breeding.
The third item for your bird friendly habitat is to provide protective cover and shelter for the bird’s security and to raise their young. Accomplish this by planting shrubs, vines and flowers such as American Beauty Berry, Hawthorn, Hollies, Viburnum, Carolina Jessamine, zinnias, asters or marigolds nearby. I also found recommended designs for bluebird houses are used by numerous native bird species.
Winter Garden Clean-Up
Winter Garden Clean-Up by Byron Chitwood
It is time to clean up the garden patch now that we have had some real cold weather. Start with the asparagus bed. The freezes killed the top growth of the asparagus so it is time to remove the dead ferns and get ready for the next harvest season which begins in late February or early march. First of all, the freeze was beneficial since it killed all the chiggers or red bugs. Therefore, you don’t need to worry about getting bitten by these critters. Just wade into the dead ferns and begin by cutting out the ferns that have the red berries. Be careful not to knock any of the berries off since they will invariably sprout. What sprouts are little wirey plants and they will never get any larger in diameter. Bury these ones with the berries in the mulch pile. Then cut the rest of the ferns off to ground level. Shred them and add to the mulch pile or if they are shredded fine enough, put them back on the asparagus bed as mulch. Continue by mulching the asparagus bed with compost and additional leaves that will mostly decompose in the next few months.
If you plan to plant potatoes and onions in your early spring garden, clear the area of all old growth and weeds where you plan to plant these two vegetables. Then put about 2 to 4 inches of leaves on these areas and till them under. Till to a depth of 4 to six inches. These leaves should be pretty well composted in time for planting which is about mid-February. To somewhat speed up the composting of the leaves, especially from oak trees, you might want to shred them with your rotary lawnmower. Hopefully you can get that lawnmower started. That will remind you to put a stabilizer in the fuel system of all your motorized lawn and garden equipment as well as any gasoline that you have stored in containers.
Some weeds and grasses thrive during cold weather. This is especially true of winter rye grass and henbit. It is best to not let these weeds get out of hand so keep the garden weeded during the winter. A good way to do this is to cover all the areas with about four inches of leaves. If you have done like I do and let the rest of the neighborhood rake, bag and put the leaves on the curb for trash pickup day, gather up these bags of leaves home and use the leaves for the mulching process. Salvage the bags. Cut the bags down both sides: unfold them into one layer and lay them on the soil. Put just enough soil on the bags so they don’t blow away. Most weeds and grasses will not grow under these bags plus when it is time to plant seeds, the soil will be a few degrees warmer. Just after the bags have been removed, plant seeds.
This little bit of advice if followed, will make your spring gardening much easier. You have also salvaged and recycled some plastic bags and conserved some valuable resources such as the leaves and dead plant material.
eGardening With The Master Gardeners
Mistletoe
Mistletoe by Madeline Sullivin
Mistletoe is the common name for obligate hemi-parasitic plants in several families in the order Santalales. These plants grow attached to the branches of a tree or shrub by a structure called the haustorium. Through this structure, they absorb nutrients from the host plant.
European mistletoe is easily recognized by its smooth-edged oval evergreen leaves seen in pairs along a woody stem with waxy white berries in dense clusters of 2 to 6. In America, while the genus Viscum does not grow wild, the eastern mistletoe is similar, but has shorter, broader leaves and longer clusters of 10 or more berries.
Mistletoe is a poisonous plant. However, both European mistletoe and the North American species are commercially harvested for Christmas decorations. When Christianity became widespread in Europe after the 3rd century AD, religious or mystical respect for the mistletoe plant was integrated to an extent into the new religion. In a way that is not presently understood, this may have led to the widespread custom of kissing under the mistletoe plant during the Christmas season. The earliest documented case of this custom, which apparently became very popular at the time, dates from 16th century England. According to custom, the mistletoe must not touch the ground between its cutting and its removal as the last of Christmas greens at Candlemas (the ancient Christian festival of lights on February 2); it may remain hanging through the year, however, to preserve the house from lighting or fire until replaced the following Christmas Eve.
The American author, Washington Irving, in 1820, said “The mistletoe is still hung up in farm-houses and kitchens at Christmas, and the young men have the privilege of kissing the girls under it, plucking each time a berry from the bush. When the berries are all plucked the privilege ceases.”
Oklahoma uses mistletoe as its state floral emblem, and until 2004 the plant was presumed to be the official state flower. In 2004, though, the Oklahoma Rose was designated as such.
Mistletoe was often considered a pest that killed trees and devalued natural habitats. However, it has recently been recognized as an ecological keystone species, which is an organism that has a disproportionately pervasive influence over its community. A broad array of animals depends on mistletoe for food, consuming the leaves and young shoots, transferring pollen between plants, and dispersing the sticky seeds.
In western North America, the juicy berries are eaten and spread by birds. When eaten, some seeds pass unharmed through their digestive systems, and if the birds’ droppings happen to land on a suitable branch, the seeds may stick long enough to germinate. This manner of propagation is reflected in its name–mistel is the Anglo-Saxon word for dung, and tan is the word for twig; it becomes dung-on-a-twig. Another popular name is “witches’ brooms,” and the Navajo name for mistletoe is “basket on high.”
A study of mistletoe in junipers concluded that more juniper berries sprout in stands where mistletoe is present, as the mistletoe attracts berry-eating birds that also eat juniper berries. Such interactions lead to dramatic influences on diversity, as areas with greater mistletoe densities support higher diversities of animals. Rather than being a pest, mistletoe can have a positive effect on biodiversity, providing high quality food and habitat for a broad range of animals in forest and woodlands worldwide.
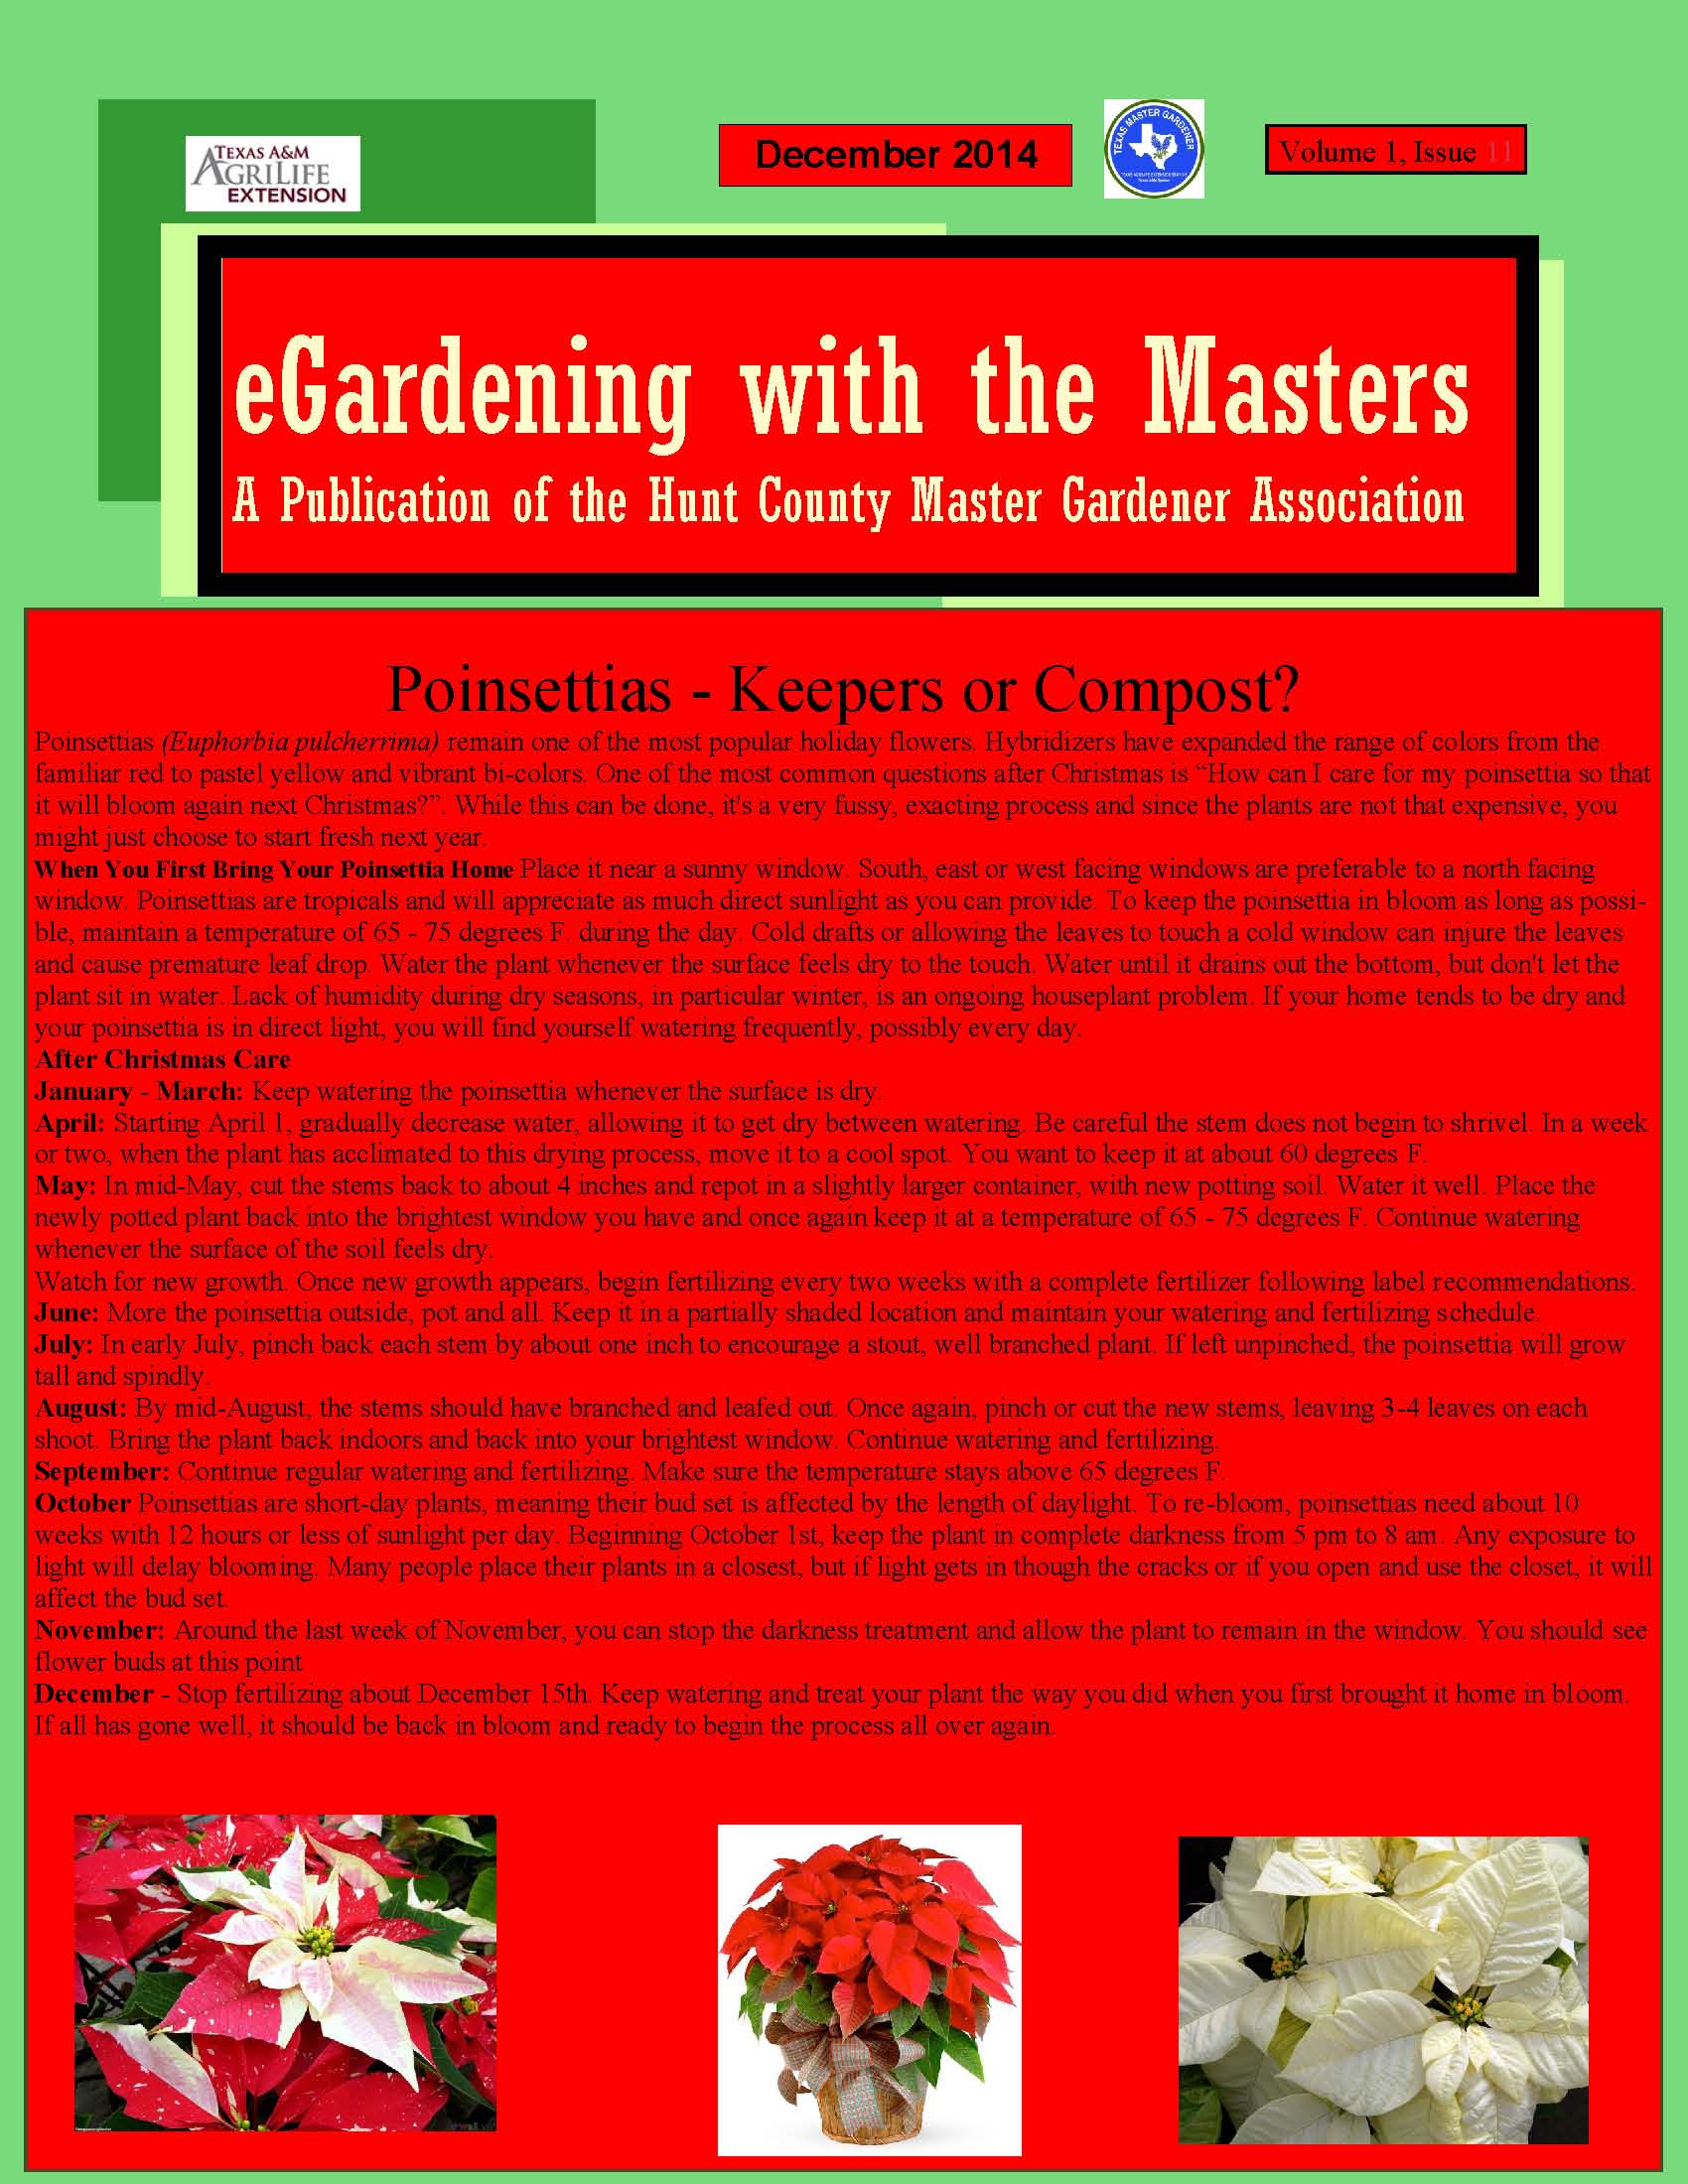
Poinsettias
Poinsettias by Charles Bohmfalk
Poinsettias are native to Mexico and were brought to the US in 1828 by the first United States Ambassador to Mexico, Joel Roberts Poinsett. The Aztecs called poinsettias “Cuetlaxochitl.” During the 14th – 16th century the sap was used to control fevers and the red bracts (modified leaves) were used to make a reddish dye. In the early 1900’s the Ecke family of southern California grew poinsettias outdoors for use as landscape plants and as a cut flower. Eventually the family grew poinsettias in greenhouses and today is recognized as the leading producer of poinsettias in the United States. I grew up in the lower Rio Grand Valley and we had Poinsettias growing outside. Poinsettias are very tender. They will NOT survive cold winter weather in our area.
The plant you choose should have dark green foliage. Fallen, low or damaged leaves indicate poor handling, fertilization, lack of water or a root disease problem. The colorful flower bracts (red, pink, white or bicolor pink and white) should be in proportion to the plant and pot size. Little or no pollen should be showing on the actual flowers (those red or green button-like parts in the center of the colorful bracts). If the temperature is below freezing and the wind is blowing, it might be a good idea to be sure the plant is well wrapped when you take it outside on your trip home. Exposure to low temperatures for even a short time can injure leaves and bracts. Unwrap the plant as soon as possible because the stems of the leaves and bracts can droop and twist if the plant is left wrapped too long.
Place your poinsettia near a sunny window or other well-lighted area. Do not let any part of the plant touch cold window panes. Poinsettias do not tolerate warm or cold drafts. Place your poinsettia in a cooler room at night (55 to 60 degrees F is ideal) to extend the blooming time.
Examine the soil daily and water only when it feels dry. Always water enough to soak the soil to the bottom of the pot and discard the excess water. If you don’t water enough, the plant will wilt and the lower leaves will drop. If you water too much the lower leaves will yellow and then drop. If you keep your plant for several months, apply a soluble houseplant fertilizer, once or twice a month according to the manufacturers recommendations. One easy way to water the Poinsettia is to remove it from the decorative foil wrapper and place it in a bowl of water. (Do not remove the plant and soil from the pot.) Let the water soak up into the plant from the bottom. If it quickly soaks up all of the water, then add more. Do not leave the plant sitting in water for a long period of time. After the plant has taken as much as it will, remove the plant from the bowl and let the excess water drain (into the sink). After it has drained, replace the plant back into the foil wrapper.
Enjoy your Christmas season plant
E-blast for November

What is a Master Gardener?
What is a Master Gardener? by Byron Chitwood
The Texas Master Gardener program is an educational activity offered by the Texas AgriLife Extension Program of the Texas A&M University. The program is designed to increase the availability of horticultural information and increase the availability of this information throughout the community.
Master Gardener prospects are selected for training in an extensive schooling and teaching project that is formulated and presented by the County Agent for Texas AgriLife Extension. Future Master Gardeners who will be taking this training will be unpaid volunteers who will spread their knowledge to others throughout community. In this schooling, instructors are selected for their knowledge of specific horticulture problems and goals for projects benefiting both professional and amateur horticulturist. Some of the community needs can be environmental improvement activities, horticultural therapy projects or school garden programs. Before being accepted as a trainee, the future Master Gardener must pass a background check. This background check is repeated every three years. After completing 60 hours of classroom training, the next phase for the future Master Gardener is one year as an intern. During this one year period, the intern must perform 50 hours of volunteer work, which includes at least 5 hours in the Extension office, and at least 5 hours of work in the Heritage Garden, and take an additional 12 hours of continuing education. The Intern is responsible for keeping a record of his or her hours for all these functions and reports them monthly to the Extension Agent. This sounds like a lot of hours but the truly dedicated person will usually exceed the required hours by a substantial margin. The saying “time flies when you are having fun” certainly holds true for the dedicated person.
Continuing education is in the form of field trips, attending programs presented by other Master Gardeners and those programs that are offered by the AgriLife Extension Service. Also, many Master Gardener Chapters conduct programs such as Rain Water Harvesting, Composting and Fall Vegetable Gardening. As the individual Master Gardener becomes proficient in some subject that he or she is interested in, they might want to compile their knowledge in one of their own programs. At first, authoring your own program seems to be an almost impossible task and the first time is very time consuming. However, the task becomes easier with experience. The only requirement is that only researched based, scientifically proven data is used. Usually, there is another Master Gardener who is proficient at preparing a PowerPoint presentation and they will be more than happy to give instructions on how to prepare a presentation. Master Gardener programs are in great demand by garden clubs, civic organizations, and schools.
The next Master Gardener training school is scheduled for the fall of 2015. However, if a person is interested in this training, it is suggested that they call or come by the Extension office to be added to the application list. Applications will be mailed out to individuals the first part of May 2015. Space will be limited. You will not be disappointed in the training and probably will learn a lot of new things.
Using Plants as Holiday Centerpieces
Using Plants as Holiday Centerpieces by June Morgan
This is the time to think about centerpieces for the holiday tables. Catalogs offer glitzy and expensive arrangements, but the savvy gardener can use a lot of what is at home for a do-it-yourself project.
For autumn, pumpkins and gourds are indispensible, coming in many colors and striations. Cut pumpkins to use as candle holders or to hold a pot of blooms or greenery. For different heights and lengths of the overall design, use trailing evergreens (please avoid poison ivy or oak), Indian corn, or foraged grasses, many of which look ordinary from afar but interesting when close up. Mimic a sheaf of wheat by tying together mature grasses and place vertically in your arrangement. Shop at thrift stores such as Goodwill for inexpensive decorative objects such as vases, figurines and bowls. You will be surprised at what you find. Fillers such as sphagnum, small twigs and branches can add a unifying effect. One warning – sphagnum acts as a wick, so don’t let it touch water, or everything surrounding, including the table and cloth will be soaked.
Prepare ahead of time for when nothing in the garden is blooming by rooting cuttings of plants such as coleus in water (this takes only days), and starting bulbs such as amaryllis and paperwhites (narcissus) which require no chilling time. You can grow these bulbs in a pot filled with soil or in a shallow bowl, using pebbles to hold them in place. Add water up to the bottom quarter or third of the bulb. To keep them from growing too tall and floppy, use one part 80 proof vodka to seven parts water. Starting bulbs which require chilling time such as mini daffodils, hyacinth and tulips indoors is possible but needs more time and preparation. Coleus is especially useful because of the ease in growing, propagating, and the many variations in colors and patterns. After serving duty in the table décor, they can be enjoyed in a sunny spot all winter in pots. Cyclamen, readily found in nurseries in rousing reds, pinks and white is especially effective in Christmas displays with artificial snow or angel hair.
Plants can serve as a basis for many other creative ideas. Think feathers, glitter, candles, small LED lights (the battery pack can be easily hidden), artificial or real moss, rocks, ribbons, etc. Look around your house and yard and even the fields with open eyes.
Some online resources for floral design material: “Mearsfloral.com”, Afloral.com or “Gardeners Supply”. Catalogs can give ideas which can be an inspiration for or replicated with your own resources.
Planting Trees
Planting Trees by Dave White
Fall is the best time to plant trees in the landscape. The cooler temperatures and increased moisture allow the tree to adapt to its new location and establish a healthy root system under less stressful heat and drought conditions.
Personally I prefer a container grown tree over a balled and burlap or bare root tree and will focus on this type in this article. With a container grown tree, I know all the tree roots are present and there is less stress in transplanting. I also choose 5 gallon container trees allowing the younger tree time to adapt to a new home. A 5 gallon tree is also easy to carry and transport. It will generally catch up in size to a larger 15 gallon tree within a 3 year period.
After selecting the planting location where you considered the full grown size of the tree, sun conditions, drainage, overhead wires, buried utilities and other obstructions, you are ready to begin digging. Dig the hole twice as wide in diameter of the tree ball. Wider is better. This loosens the compacted soil to enable the roots to begin growing. Make the hole no deeper than the root ball. Proper planting depth is important to ensure the top of the root ball is level with the soil or a little higher to allow for soil settling.
Remove the tree from its container. Inspect the tree roots and spread any coiled roots outward in the planting hole. If needed, cut the roots with a sharp knife from the bottom in three or four places on the side of the root ball to spread the roots. Inspect the tree for any girdling roots around the trunk that could strangle the tree as it grows. Remove these if necessary.
Begin backfilling the hole with the native soil. Research has determined that amending the soil with organic matter is not recommended. It impedes root growth and water movement between the two soil types. The amended soil tends to become more saturated in clay soils creating a “bathtub” effect.
Ensure the tree is straight in the hole. Partially back fill the hole and then flood the hole with water to help settle the soil and remove any air pockets from around the roots. Do not add fertilizer to the backfill mixture. Continue backfilling the hole to the proper level on the root crown ensuring the root ball is covered with soil.
A slightly raised berm can be made around the planted tree with any remaining soil. Top dress the planted tree with 3 – 6 inches of mulch to maintain even moisture levels and soil temperatures. Stake if necessary to support the tree in a windy location. Remove the stakes after one year.
Water the tree thoroughly when finished. If soil testing indicated fertilization was needed, apply a water soluble fertilizer according to directions with the final watering. Supplemental watering is very important during your tree’s first two years. Maintain a watering schedule throughout this time to ensure your tree has the needed moisture to grow and flourish in your landscape.